Table of Contents
If you are a DIYer, carrying out window replacement should not be a complicated task. You can choose to do it during the weekend or a weekday. What is important is ensuring you have the right tools for the work and knowing what to do.
Often, windows are replaced because they are damaged beyond repair. You can also replace your window as a renovation project where you want the value of your house to increase in case you are planning to sell it. This NorthTech Windows and Doors guide will help you through window replacement process.
1. Tools Required
2. Utility knife
3. Hammer
4. Pry bar
5. Level
6. Pliers
7. Caulking gun
8. Paintbrush
9. Handsaw
10. Drill and drill bit
11. Slip-joint pliers
12. Reciprocating saw
2. Materials Needed
- Nails
- Paint
- Sash replacement window
- Caulk
- Wood putty or filler
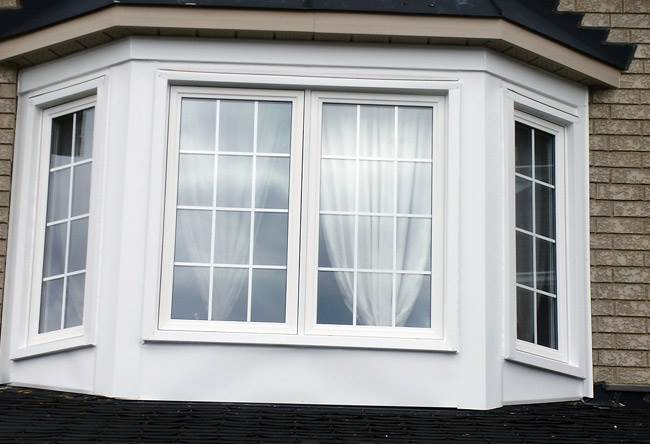
3. Window Replacement Process
A. Take Window Measurements
This stage determines the overall success of your window replacement. Take measurements all-round the window. That is, you do not only measure length and width from top and bottom. But, you also measure the width at the middle of your window. These measurements are made from jamb to jamb.
B. Remove the Head Stop and the Trim
Wood can split when removing it from the trim. To prevent this, use paint on trim parts that touch the window casing of the old window. Use a flat pry bar to remove the pieces.
Use pliers to pull the head stop which you will use later carefully.
C. Remove Jamb Liner
Start working on the lower part of the jamb liner gently and do the same on the upper jamb liner.
D. Remove the Window
If you are working on a large window, make sure you have someone to help you. Start by removing sashes and the jamb liner. Once these are out, ask your helper to help you catch the window as you pry it. It is essential to have helping hand during window replacement. Do not worry about touching the window tint just yet either.
E. Insert your New Jamb Liner
In every 4 to 5 inches, put a liner bracket together with each jamb. Level the brackets before nailing. Fix the jamb liners ensuring they perfectly match with the bracket liners.
F. Install Sashes
Start by inserting your sash on the upper exterior track. Check if it is operating smoothly. Once you are through with the upper part, insert your sash to the lower interior track of the jamb liner. Check if it is opening and closing smoothly.
G. Install Head and Side Stops
Fix the head stop back to its place, ensuring the nails do not appear above the wood surface. Use wood putty to fill the holes and paint to cover the wood putty.
Fix back the inside stops and repeat the same for the nails and holes.
H. Remove Casing
To separate the interior casing from the wall, a utility knife becomes handy. Use it to cut through caulk or paint binding the two. Once they are separate, remove the casing using a flat pry bar. Remove screws with slip-joint pliers to avoid damaging the casing for reuse.
I. Remove Sash Weights
Start by removing sash weights from the lower sash and then progress to the upper sash weights.
J. Remove Molding
Remove molding while at the exterior of the window.
K. Remove Stool and Apron
Go back to the inside of your house and start working on the stool. Stool is the inside part of sill. Continue with the apron, which is the section below the stool, but direct to the wall.
L. Cut Through Nails
Use a reciprocating saw or a hacksaw to cut through nails. The nails you will be cutting are those attaching the jamb to your home’s window framing.
M. Remove Sashes and Insulation
Get rid of any obstructions such as insulation, nails, and sash.
N. Pull the Window Out
Pry the replacement windows in the outside direction. Your helper should be ready from the outside to catch it when it starts coming off. When you feel the window has become loose, go outside and help in removing it.
The project is simple. If your replacement windows are small, you can remove them without a helper.